

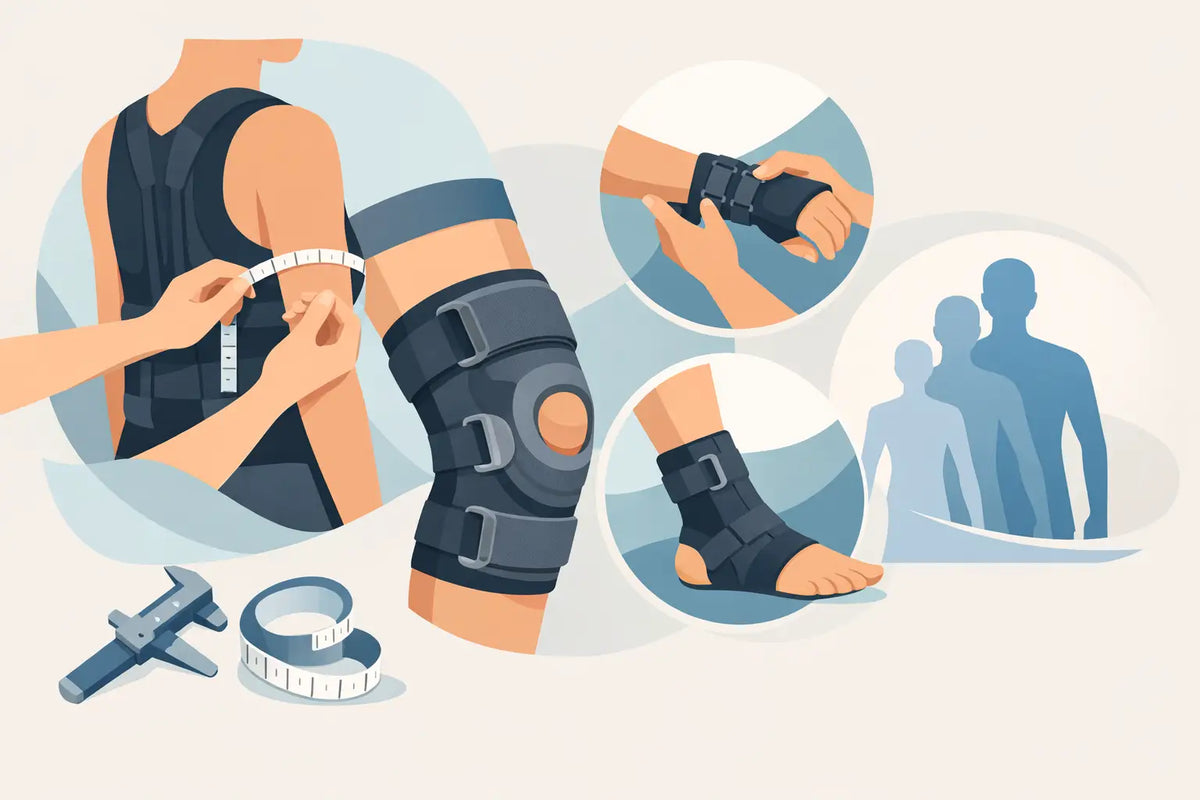
A brace that slides down during a walk, pinches behind the knee, or leaves deep marks at the edge is not doing its job as intended. This brace sizing guide explains how to take reliable measurements and interpret product size charts so your support can provide purposeful compression and stabilization without restricting normal circulation or movement.
Orthopedic braces are designed around specific anatomical landmarks, not simply small, medium, or large clothing sizes. A knee brace may be sized from the circumference above and below the kneecap, while an ankle support may depend on ankle circumference and shoe size. Measuring the correct area, at the right time of day, makes a meaningful difference to comfort, stability, and treatment results.
Why correct brace sizing matters
A well-fitted brace works with the body. Its compression zones stay where they are intended to support soft tissue, its straps or closures can be adjusted appropriately, and its stabilizing elements can address the joint or region they were designed to manage.
When a brace is too large, it can migrate, bunch, and lose its therapeutic position. This is especially noticeable during work, sport, stair climbing, or rehabilitation exercises. A brace that is too small can feel overly restrictive, roll at the edges, cause uncomfortable pressure, or aggravate swelling. More compression is not automatically better - the appropriate level depends on the condition, the body area, and the product’s treatment concept.
Sizing also affects durability. Repeatedly overstretching a support to make it fit can reduce the material’s ability to recover its shape. Selecting the correct size from the beginning helps preserve consistent compression and makes the brace easier to wear as part of a daily care plan.
Brace sizing guide: measure the body, not the brace
Use a flexible tailor’s measuring tape placed flat against the skin or over a thin layer of clothing, depending on the product instructions. Do not pull the tape tight enough to indent the skin. It should be snug, level, and comfortable - similar to the fit you would want from the brace itself.
Measure standing or sitting in the position specified by the product instructions. For most lower-limb supports, standing with weight distributed naturally provides a useful baseline. For wrist, elbow, and shoulder products, a relaxed neutral position is usually more accurate than measuring while flexing the muscles.
Take each measurement twice. If the numbers differ, measure a third time and use the most consistent result. Record the measurement in centimetres, as orthopedic product charts commonly use centimetres. Avoid estimating from a previous brace, clothing size, or another manufacturer’s chart. Design, compression class, and sizing standards vary between products.
Measure when swelling is representative
Swelling can change throughout the day after an acute injury, surgery, travel, prolonged standing, or strenuous activity. If your clinician has recommended a brace for a swollen joint, ask whether you should measure at the time you expect to wear it most often or whether an adjustable design would better suit your needs.
For a new injury with significant or rapidly increasing swelling, numbness, colour changes, or severe pain, sizing should not replace medical assessment. A brace may be part of treatment, but it is not a substitute for a diagnosis or a care plan.
Follow the product-specific landmarks
The right landmark is as important as the measurement itself. Product instructions may ask for one or more of the following:
- ankle circumference at the narrowest point above the ankle bones
- calf circumference at a stated distance below the knee
- thigh circumference at a stated distance above the kneecap
- knee circumference at the centre of the kneecap or above and below it
- wrist circumference at the narrowest point near the wrist crease
- hand circumference across the knuckles, excluding the thumb
- waist or hip circumference at the location identified for a back or hip support
How to choose between two brace sizes
If your measurement falls clearly within a size range, select that size. If it lands exactly on the boundary between sizes, the best choice depends on the brace design, the purpose of treatment, and the shape of the limb or joint.
For a pull-on compression support, a closer fit may be appropriate when the material is intended to provide consistent compression and you can put it on without excessive effort. For a brace with adjustable straps, lacing, or hook-and-loop closures, the larger option may offer more room for fluctuating swelling while still allowing the fit to be refined.
Do not choose a smaller size solely because you want greater stabilization. Stabilization comes from the brace architecture: integrated stays, straps, joint hinges, anatomically shaped knit zones, or targeted support elements. A too-tight brace can be less effective because it is uncomfortable enough that you remove it or wear it incorrectly.
Body proportions can also matter. If a knee support fits your knee circumference but feels tight at the calf or loose at the thigh, a different design may be more suitable than forcing the fit. This is one reason specialized orthopedic supports are available in varied cuts and adjustment systems.
Check the fit when the brace is on
Once the brace is applied, move through several everyday motions before deciding the fit is correct. Take a few steps, sit and stand, bend the joint gently within your comfortable range, or perform the activity your clinician has cleared you to do.
A correctly fitted brace should feel supportive and secure without causing sharp pressure, tingling, numbness, coldness, or skin discolouration. It should remain aligned with the joint and not rotate, wrinkle heavily, or slide down after a few minutes of movement. For braces with hinges, the hinge should align with the natural joint line. For patellar supports, the opening or pad should sit as directed around the kneecap.
Mild, even pressure is common with compression products. Deep grooves, pain at the edges, or increased symptoms are not signs that the support is working harder. Remove the brace and reassess the size, application method, and suitability of the product. If symptoms continue, consult your physician, physiotherapist, chiropractor, occupational therapist, or other treating practitioner.
Sizing considerations by body area
Knee and thigh braces often require the most precise measuring because the leg changes circumference above and below the joint. Measure with the leg relaxed and ensure the support is centred on the kneecap or joint line. If you have meniscal irritation, ligament laxity, osteoarthritis, or a post-treatment plan, the recommended style of brace may be just as significant as its size.
Ankle and foot supports need to accommodate both the ankle and the footwear you will use. A support that fits well barefoot may feel different in a work boot or athletic shoe. Check whether the product is designed to be worn inside footwear and whether its straps, laces, or knit profile suit the shoe volume available.
Back supports are usually measured around the waist, hips, or both, according to the product chart. Measure over a thin shirt if that is how you expect to wear the brace. The lower edge should not dig into the hips when sitting, and the support should remain positioned over the intended lumbar or pelvic region.
Wrist, hand, thumb, and elbow braces need careful alignment. A wrist brace that is the wrong length or circumference can interfere with grip, while a thumb support must stabilize the thumb without limiting circulation to the fingers. Follow any right- or left-side designation carefully before opening or trying on the product.
Make sizing part of the treatment decision
The most suitable brace is not always the most restrictive one. A light compression support may be appropriate for mild discomfort, swelling management, or confidence during activity. A more structured brace may be indicated when there is instability, a ligament injury, a diagnosed condition, or a specific rehabilitation protocol. Your healthcare professional can help connect the diagnosis, desired level of support, and brace design.
If a brace is prescribed for insurance reimbursement, keep the prescription and purchase documentation together. Requirements vary by insurer, but clear records can make a claim easier to submit. For clinics, accurate measurements recorded at assessment also help ensure a patient receives a support that matches the recommended treatment plan.
Sporlastic Canada product sizing information is designed to be read alongside each brace’s intended indication and technical features. Review both before ordering, particularly when choosing a support with specialized compression zones, stabilizing elements, or adjustable closures.
A few careful centimetres at the measuring stage can prevent weeks of discomfort or an interrupted recovery routine. Measure deliberately, follow the product chart exactly, and choose a brace you can wear comfortably enough to benefit from consistently.



Leave a comment
This site is protected by hCaptcha and the hCaptcha Privacy Policy and Terms of Service apply.